
How to Measure Your Blood Pressure from Home
How to get an accurate measurement
Have you decided to take control of your health by monitoring your blood pressure at home?
At first this could be a bit overwhelming, and you might be wondering how to ensure you get an accurate measurement like the doctors. However, monitoring your blood pressure at home is just as accurate as measuring your blood pressure at the doctors, with many doctors now using automatic blood pressure monitors to reduce human error.
Follow our simple sets on how to take an accurate measurement from home.

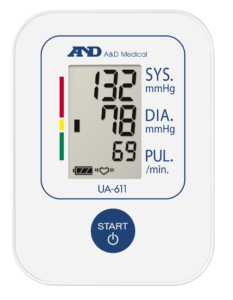
Use a clinically validated blood pressure monitor
Clinical validation is a formal study comparing the accuracy of a blood pressure monitor relative to the measurement of a clinical observer using a mercury sphygmomanometer and stethoscope on a patient.
Clinical validation is comprised of three major components:
- Utilisation of modern protocols
- Independent verification of accuracy
- Publication in a peer-reviewed journal
View our clinically validated blood pressure monitors here.
Ensure the cuff is the correct size
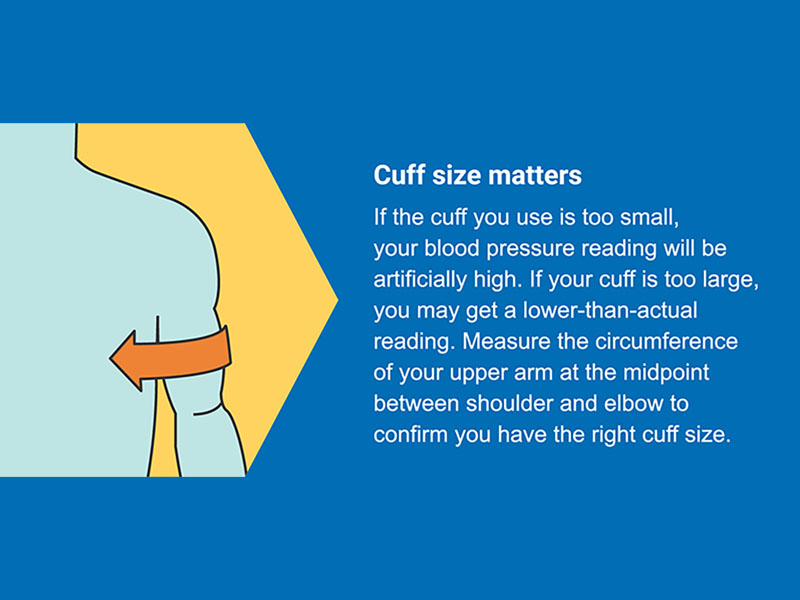
Cuff size matters!
If the cuff you use is too small, your blood pressure reading will be artificially high. If your cuff is too large, you may get a lower-than-actual reading.
To determine the right cuff size for you, with your arm hanging at the side of your body, measure the circumference of your upper arm at the midpoint between shoulder and elbow.

Understand what can impact your measurements
30 minutes before you take your measurement, DO NOT:
- Exercise
- Drink coffee or any kind of caffeinated drink
- Drink alcohol
- Smoke
Make sure you sit quietly for 5-10 minutes to relax.
Taking the blood pressure reading
Now you have completed the steps above, you are ready to take your reading.
- Sit with your back straight, your legs uncrossed, and your feet flat on the floor.
- Place the cuff on your left arm or wrist (unless your doctor has advised you to use your right side).
- For upper arm monitors, wrap the cuff around the middle of your bare upper arm, about ½” above the elbow. It should be fastened snugly, but you should be able to slide two fingers underneath the cuff. Place the air hose on the inside of the arm near the crook of your elbow so that the artery position mark (if your model has one) is aligned with your brachial artery.
- For wrist monitors, with the palm facing upwards, attach the monitor to the inside of your wrist. Fasten securely with the top edge of the cuff aligned with the crease of your wrist.
- Rest your arm on a table so cuff is at heart level.
- For upper arm monitors, the cuff around your upper arm should be even with your heart. Your hand should rest on the table, palm up.
- For wrist monitors, you’ll need to bend your elbow to bring your wrist to heart level. Positioning your wrist at heart level is critical for an accurate measurement.
- Press start. During your measurement, do not talk, move, or eat. Any one of these things can impact your measurement.